Project 1A: Build Checkpoint
Deliverables
Build Checkpoint – 5 points – due Sunday, August 30th, 11:59pm
Getting Started
Repository Setup
Fork the class-specific repository into your personal GitHub account. After forking, ensure GitHub Actions are enabled for your fork by clicking the green button under the Actions tab.
Warning
Even though this project is based off of an active open source project, we have made significant changes to ensure its suitability for our class. As such, be sure you are forking off of CMU-17313Q/opencode and direct any questions to course staff. Do not contact the maintainers of opencode for assistance with your homework questions.
Prerequisites
- Docker
- Visual Studio Code with the Dev Containers extension
- Ubuntu WSL2 (if using Windows)
What is Docker?!
You may be overwhelmed by the presence of this (maybe) unfamiliar tool, or maybe just curious about its functionality. Do not fear! We have put together a Development Tools Guide where we cover the basics of Docker and other tools used for this project!
Cloning
-
Clone your fork to your machine. If you are using Windows, you should use
gitfrom inside WSL2.git clone https://github.com/<your-username>/opencode.git cd opencodeWindows WSL2 Warning
For Windows WSL2 users, you should store your project files on the same operating system as the tools you plan to use. When it comes to cloning the opencode repository, it means that you should clone it in:
- the Linux file system root directory:
\\wsl$\Ubuntu\home\<user name>\ - NOT the Windows file system root directory:
/mnt/c/Users/<user name>/$orC:\Users\<user name>\
You can use
% cd ~to access the Linux home directory, then clone the repository there. - the Linux file system root directory:
Development Environment
Your first step should be setting up a VS Code DevContainer.
It gives you a fully configured environment and makes it easier for the course staff to help you.
You'll know it's working once VS Code prompts you with a green indicator in the bottom-right corner of the window that starts with Dev Containers: ... . You can find support online on how to setup and run a DevContainer. You may also ask the course staff for help with configuration.
If you have questions, see our resource here: Development Container Setup
Hint:
Your development container will be written in a file titled devcontainer.json. There are multiple ways to create a development container, so there is no single correct configuration for this part of the assignment.
The only requirement for your development container is that it needs to have Bun 1.3 or later installed, which is crucial for the next step. Again, please feel free to reach out to the course staff on Slack for help!
Installing
In your development environment, you will install dependencies from the repo root:
bun install
Launch
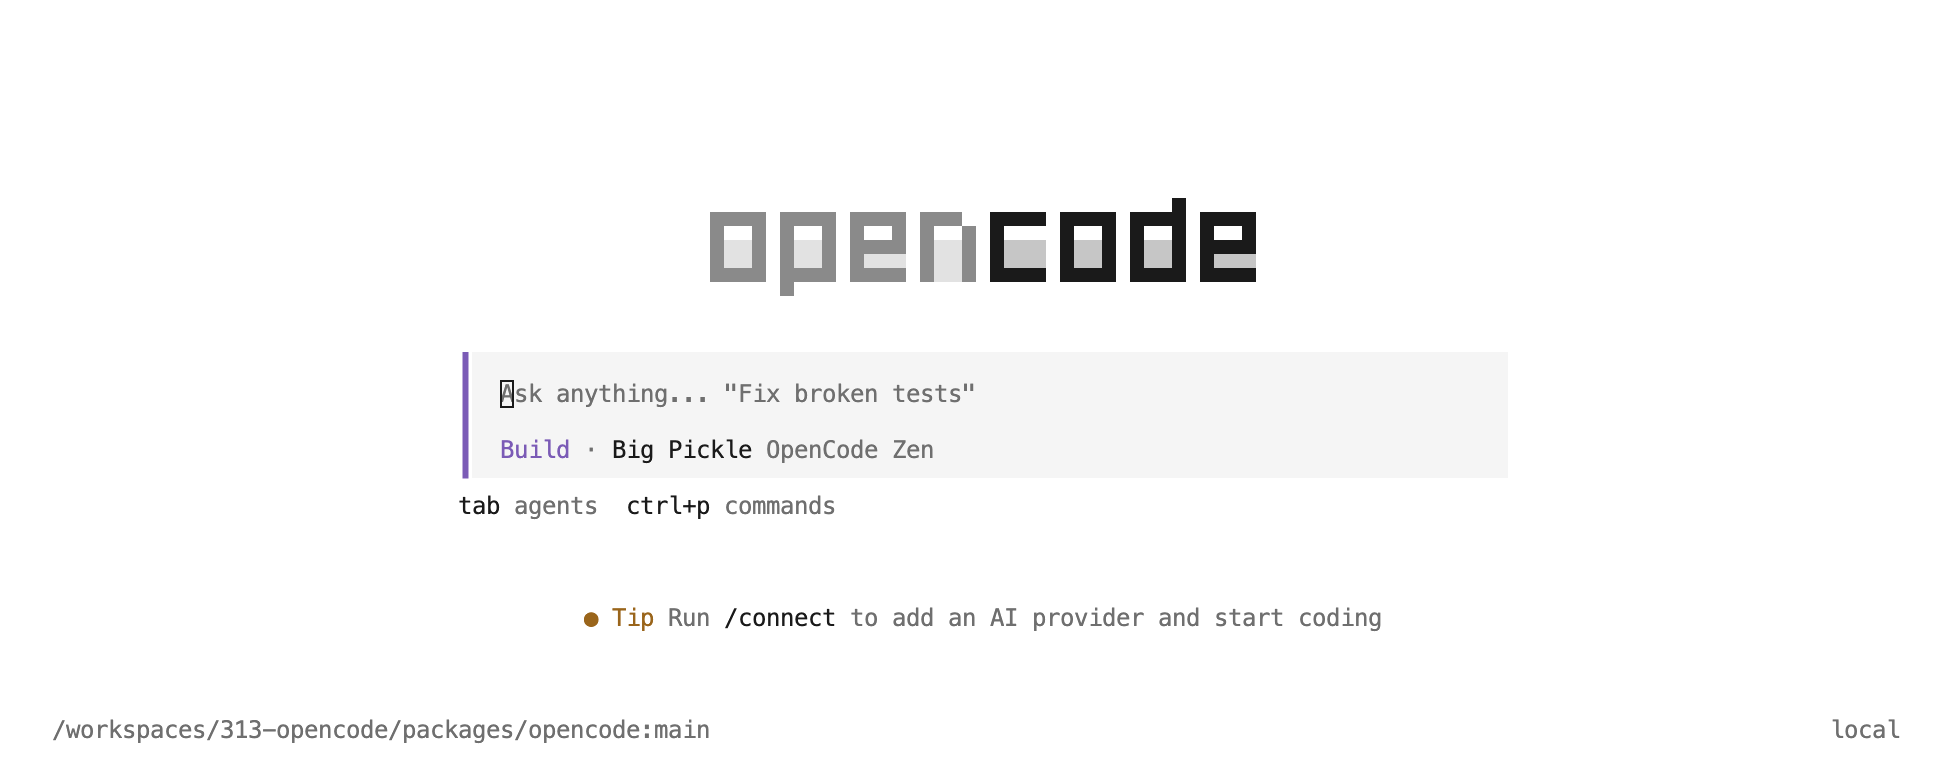
After you have installed the dependencies, you can run it using the command:
bun dev
When you run it properly, you will see something that looks like the following:
Lint and Test
When working on an existing codebase, especially in a collaborative setting, we want to ensure that none of our changes introduce unexpected bugs or issues for other developers. To fulfill these goals, we often use different tools to help us evaluate our code.
You can run the linter using the following command:
bun lint
Opencode is configured to not run the entire test suite all at once. You should run the tests package by package.
For part b, you will need to run the tests for the package that you make changes in. However, for now, you can pick any project to verify that the tests are running.
You can run the tests by running
bun test
bun test --coverage --coverage-reporter=lcov --coverage-dir=./coverage
note: You might want to use genhtml to make the lcov file more readable.
After the test suite finishes running, opencode will also generate a code coverage report.
This report gives you measurements with regards to what percentage of the codebase is covered by the test suite.
Open the index.html file in the coverage folder to see the full report.
Coverage Report
As this is an existing codebase with a decently-sized test suite, you should expect to see a relatively high percentage of coverage, i.e. the majority of the bars/cells displayed should be green.
If you are seeing a lot of red bars, it may mean that the test suite was not run properly. Double-check that all of the tests passed and that there were no failures.
More on Analysis Tools
A linter is a tool that directly analyzes your source code for common errors. A test suite is a set of test cases that you write for a software program to show that it has some specified set of behaviors; our testing tool provides a framework to structure our test cases, runs the test suite, and generates a report of which tests pass/fail.
We will do a more in-depth exploration of analysis tools later in the course. For now, just know that these tools exist for you to use in evaluating your code.
Deliverable: Build Checkpoint (5 pts)
Upon completing the above steps, take screenshots of
- your vscode which shows opencode running in a development container
- the coverage report generated by the coverage tool
Submit the two screenshots and the link to your repository on Gradescope.
Grading
To receive full credit for this checkpoint, we expect:
- A working devcontainer file committed and pushed to the repository
- Two screenshots showing a local running build of opencode running in a development container and the coverage report within a browser